


“Retro fit" garden bed with WaterUps® wicking cells
Posted on: 24 April 2018
As well as being used in new garden bed installations, WaterUps Cells can be installed quickly and easily into existing beds.
As the series of pictures below show the procedure involves 3 main steps.
Step 1: Remove the soil from the existing bed
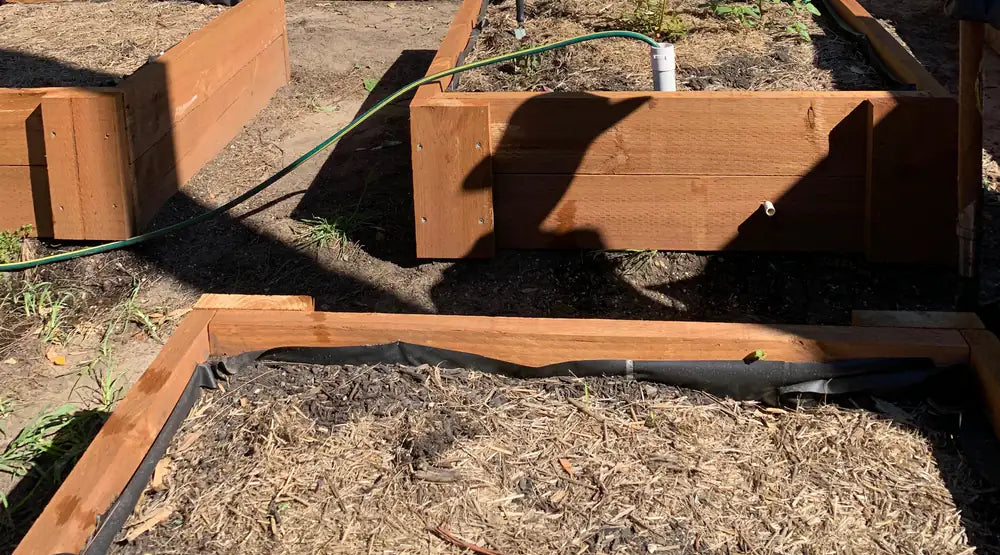
As you can see from the main image (which you will find at the top left hand corner of this page), this garden bed has seen better days! The base itself is fine but the garden bed could definitely benefit from a "makeover". Let’s start by removing the old soil.
Placing the old soil on a tarp next to the bed makes it much easier to reclaim than if we were to just dump it on the grass. You’ll need to decide whether you can re-use the soil, whether to mix in some new mix, or just replace the whole mix. As you can see in the first picture in the row above, we chose to have some new mix delivered.
To get the best from your new WaterUps Wicking Bed you’ll need to build it on a firm flat base. Start with a base of soil or sand, add a spray of water, then a quick check with a spirit level to make sure that the soil base of the bed is level.
After giving the base a good pat down you are ready for Step 2.
Step 2: Install the pond liner, WaterUps® Cells, inlet & overflow pipes, and GeoTec fabric
Follow the WaterUps® Installation Guide and install the pond liner.
Install the WaterUps® Cells in the bed, cutting cells to fit where required.
Install the inlet & overflow pipes, and the GeoTec fabric.
Once done you are ready for Step 3.
Step 3: Fill the bed with potting mix
Give the WaterUps® Cells a good spray with water, then add the potting mix to the bed in layers of about 100mm, or so. Give the bed a good drenching of water after each layer of mix is added.
Your bed is now ready to plant. Simply fill the reservoir with water and the wicking process will commence.
Note: the moistened soil will help even the most shallow rooted plants to establish themselves quickly.


