


What to do in your wicking bed this month - September 21
Wicking bed gardening in September
A not too wise man once said, “Last month of lockdown, first month of spring, if you’re not planting now, you are running late.” Wise words. Stop being sentimental about that ragged old celery, It’s given more than a bunch. And that little red cabbage that never really was. Give it purpose and compost it. As a cabbage it failed, but as compost it will be king.
If I’m being too brutal, and those last few cauliflowers are starting to bud, but you are feeling the warmth of spring beckoning you and you’re worried you’ll miss out, why not do what I did and get going in a pot.
Growing tomatoes in square planters
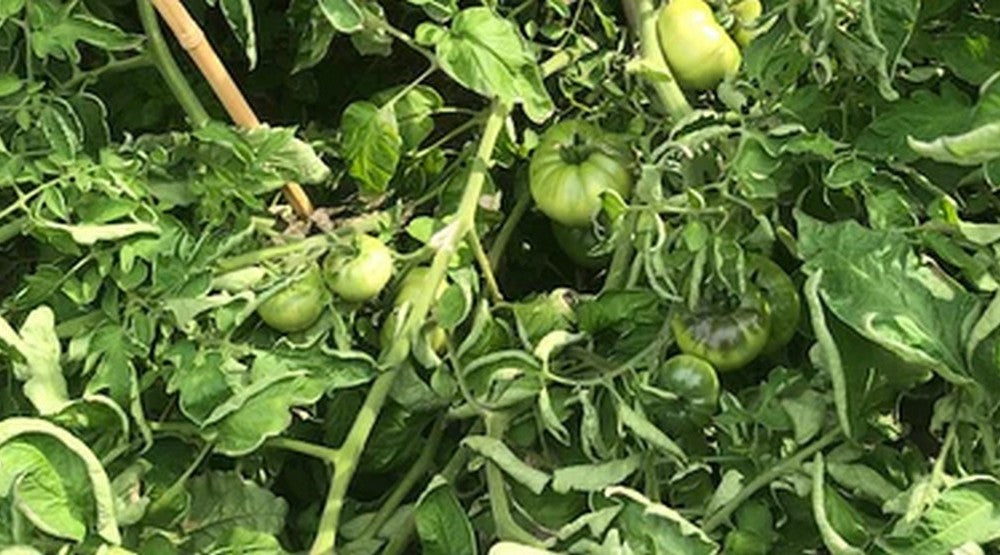
This year I was really excited about growing tomatoes in my Square Planters. I have them on the deck around the pool for now as it gets the best sun while it is still a bit low. I have been able to get off to a quick start. Once the weather gets hotter, the kids will be splashing around, and truth be told, the deck will get too hot, so I will trolly the pots into the veggie garden where they will get a little shade during the midday sun. I thought that was going to be the big advantage to growing the tommies in square planters, but as they are already getting quite large, I find that I can more easily move around the entire plant, making maintenance easier.

The new Flexi-Garden-Frame square planter model, that I have been trialling, also has made supporting the ever heavier tomatoes as they grow easier than before. So how did I do it? Firstly an admission, even though I did sow my own seeds and did get a very early start on spring, I still bought my first two tomato plants from a nursery. They were already so much bigger than my tiny sproutlings and my two favourite varieties, Oxheart and Green Zebra.
I will be working with a WaterUps square planter, but I am also going to use a new Flexi-Garden-Frame model design specifically for the planter that I have been trialling. Keep an eye on our products page for this new product which we expect to release in a couple of weeks. The tips and techniques in this piece can be used in any planter and with whatever support system you can dream up, but results may vary.
All the planters have had vegetables growing in them before, so I tipped them and removed most of the roots from the previous crop. I wasn’t too fussy, as what remained would just add to the organic matter. I added some of my compost, but you can ‘freshen’ with well rotted manures, spent mushroom compost, or bagged compost. Each planter needed only half a bucket, or 4 - 5 litres to top it up. Because I used a square of geotextile fabric to cover my wicking cell and protect the perlite, my wicking feet were intact and needed no topping up with perlite, but if they are low, top them up.
Before I returned the soil to the pot, I put my Flexi-Garden-Frame together and placed the legs right to the bottom of the planter so the legs are resting on top of the wicking cell. From here I replaced the soil taking care to pack the soil around the legs of the frame to keep it steady.
One of the great features of the Flexi-Garden-Frames are that they not only provide a frame for netting, but that they can be strung up to provide growing support for plants. For tomatoes this is essential. They don’t refer to bits of timber as tomato stakes by accident.
As big as the Square Planter is, I have still only put two plants per pot. This will ensure that the plants do not get cramped allowing enough air flow to discourage pest and disease and enough sunlight to get fruit big and colourful. I put the two plants on opposite sides of the pot, but you could put the in opposite corners to give them a bit more room, or just try growing one big tomato in the centre of the planter. I’ve often said that the biggest cause of failure in home gardening is over planting and crowding. I am expecting to get about 30 tomatoes off each plant. That will be around 6 kilos of tomatoes per plant. With only 2 plants per pot, I am expecting 12 kilos of fruit in each planter.
Into the fresh soil, take your fertiliser of choice and mix it through the top 10cm of soil at the rate specified by the manufacturer. Tomatoes can damage easily when young, so be gentle as you transplant them. Lightly tamp the soil to squeeze out any air pockets. Always mulch your planter, just like you would a garden bed. I have only about a centimetre of sugar cane mulch over the surface of the soil. Be sure to keep the mulch away from the stem and water everything in well with a half strength seaweed solution. This will help the soil settle, lock in the mulch and give the soil and the seedlings a little boost to get them going.
Top up the Square Planter reservoir, find a nice sunny spot and that’s enough to get you started.
Tune in next time for tips on pruning, supporting and fertilising your tomatoes.
Happy gardening


