


WaterUps FAQs
WaterUps Library
These FAQs contain answers to some frequently asked questions which may be
of assistance in the design and construction of your WaterUps wicking bed.
WaterUps Wicking Products
What are the WaterUps cells made from?
WaterUps cells are manufactured from recycled polypropylene (‘RPP’) raw material.
Where are WaterUps manufactured?
WaterUps all moulded products are manufactured in Australia in Western Sydney.
What if the WaterUps inlet pipe is too short for my wicking bed?
The best way to extend your inlet pipe is to use the WaterUps inlet pipe extender
What if I can’t attach the WaterUps Overflow Pipe?
If you have had to cut the cells to fit your bed and can’t position an overflow pipe in the corner slot of the cell, simply cut off part of the rectangular piece that attaches to the cell. Make sure that you retain the short end piece of the rectangle that connects to the screw thread.
How many WaterUps cells will I need?
To work out how many WaterUps cells you will need we suggest that you use the calculator tool on our website which you can go to using the link –WaterUps Calculator
GeoTextile (‘GeoTec’) Fabric
When would GeoTec fabric be required?
It can be used for the following purposes:-
- To protect against possible root intrusion from under the base of the bed.
- To cover any gaps between the edges of the WaterUps cells and the internal walls of the bed in order to prevent soil from getting into the water reservoir.
- To cover any gaps caused by cutting a WaterUps cell. This is particularly important if you have to cut through any of the feet or ʻwicksʼ.
- If you intend to put a plant with an aggressive root system in your new garden bed, it is recommended that you put a layer of GeoTec over the top of the WaterUps cells and slightly up the walls.
Soil & Potting Mix
What is the optimal soil mix for a wicking bed?
Unlike river sand/scoria/gravel based wicking beds, WaterUps wicking beds do not require a sandy soil mix. The optimal mix is ultimately dependent on what is to be planted. However, as a general rule, the mix should contain up to 50% by volume of organic matter. Mushroom compost should be included to enhance the soil structure.
What tools may be needed to install my WaterUps wicking system?
A detailed list of the tools & equipment you may need to construct your WaterUps wicking bed is contained in the WaterUps Installation Guide and the specific DIY Installation Guide relevant to the type of WaterUps wicking bed you are constructing. Generally, however, you will likely need the following items:
- 18mm Hole Saw or Speed Bore – to drill the hole in the wall of the raised bed for the overflow pipe.
- Jigsaw or Hand Saw – to cut the WaterUps cells to fit the existing walls of the raised bed.
- Cable Ties – to secure the long overflow pipe to the WaterUps cell when installing timber beds.
- Staple gun or Gaffer Tape – to hold the pond liner in place while adding the cells if you are not using one of our WaterUps Reservoir Liners.
Perlite
What do I use the Perlite for?
Perlite is a inorganic and we recommend it's use in the ʻwicksʼ, which are the 4 feet at the base of each WaterUps cell. This eliminates the potential for anaerobic breakdown, which can occur if organic matter becomes waterlogged.
Can I use Vermiculite instead of Perlite?
We do not recommend using Vermiculite in the ʻwicksʼ. While both minerals are widely used to improve the soil structure, Perlite helps by creating air pockets to improve capillary action/wicking and the growth of a healthy root system. Vermiculite is used more for water retention as it can hold many times its own weight in water. Perlite is hard and highly porous, while Vermiculite is soil and spongy. Vermiculite may be useful towards the top of your soil to help moisture retention.
How much Perlite do I need?
You will need approx. 2 litres per cell. To work out how much Perlite you will need, we suggest that you use the calculator tool on our website.
Watering
How do I water my WaterUps wicking bed?
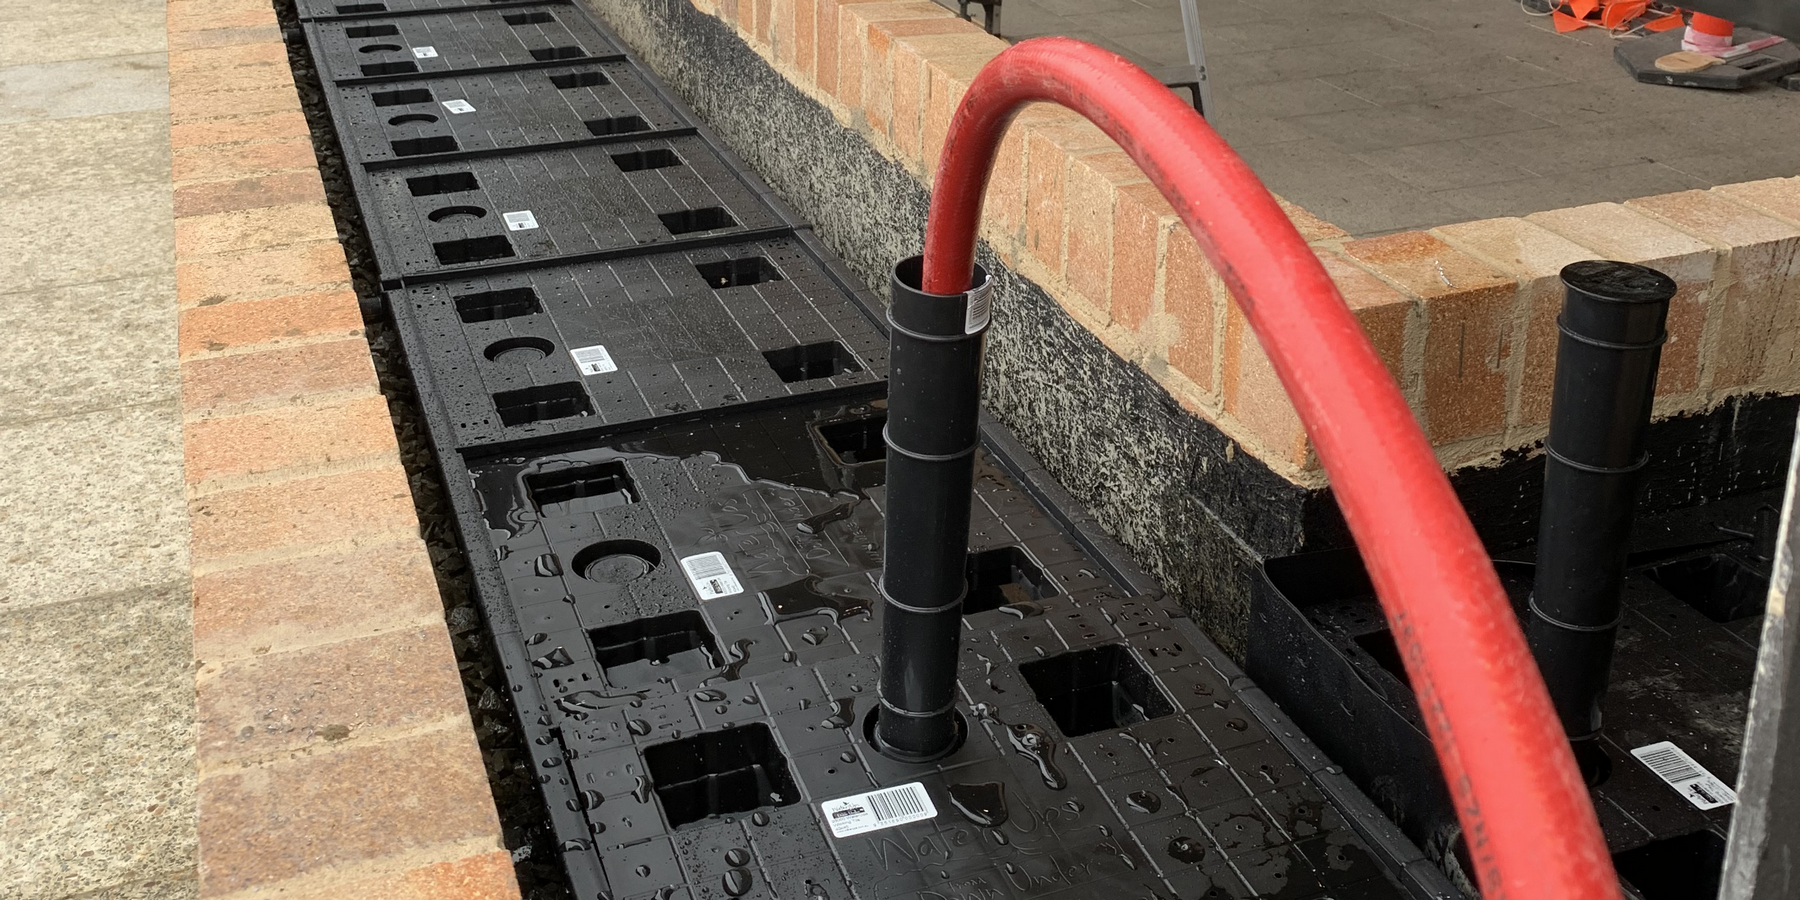
To water your WaterUps wicking bed simply insert the hose into the inlet pipe and fill the reservoir until water starts flowing out of the overflow pipe.
How much water does a WaterUps wicking bed hold?
When full, there will be 120 litres per square metre of water in your WaterUps wicking bed.
How often will I need to refill the reservoir with water?
This will depend on what plants you are growing, the time of year, and the amount of natural rainfall that you experience. However, in our experience, periods of up to 4 weeks are achievable before you will need to refill your WaterUps wicking bed. It is recommended that you allow the water level in your WaterUps wicking bed to go down to at least 1/4 full before refilling. This will assist soil aeration.
How do I tell how much water is in the reservoir?
You can use a simple dip stick or a WaterUps Reservoir Level Indicator, to measure the water levels. The depth of 12cms would indicate Full.
Soil depth of wicking beds
What is the optimal depth of soil in a wicking bed?
For optimal “wickability” the soil depth should be approximately 300mm to 350mm. However, this can vary depending on what you are growing. The depth of the root system of the plant that you are putting in the wicking bed is also relevant. For example:
- 15cm to 20cm soil depth for herbs, lettuce and seedlings;
- 30cm to 35cm soil depth for woody perennials, deeper rooting vegetables and ornamentals; and
- 40cm to 45cm soil depth for citrus trees, stone fruits, pome fruits, and large shrubs that have a root ball of approx 20cm.
Seedlings
What should I do with newly planted seedlings?
After planting seedlings it is important that you add a layer of mulch to the top, and that you water the bed normally with a hose or watering can for the first couple of days after planting while the roots of the seedlings become established.